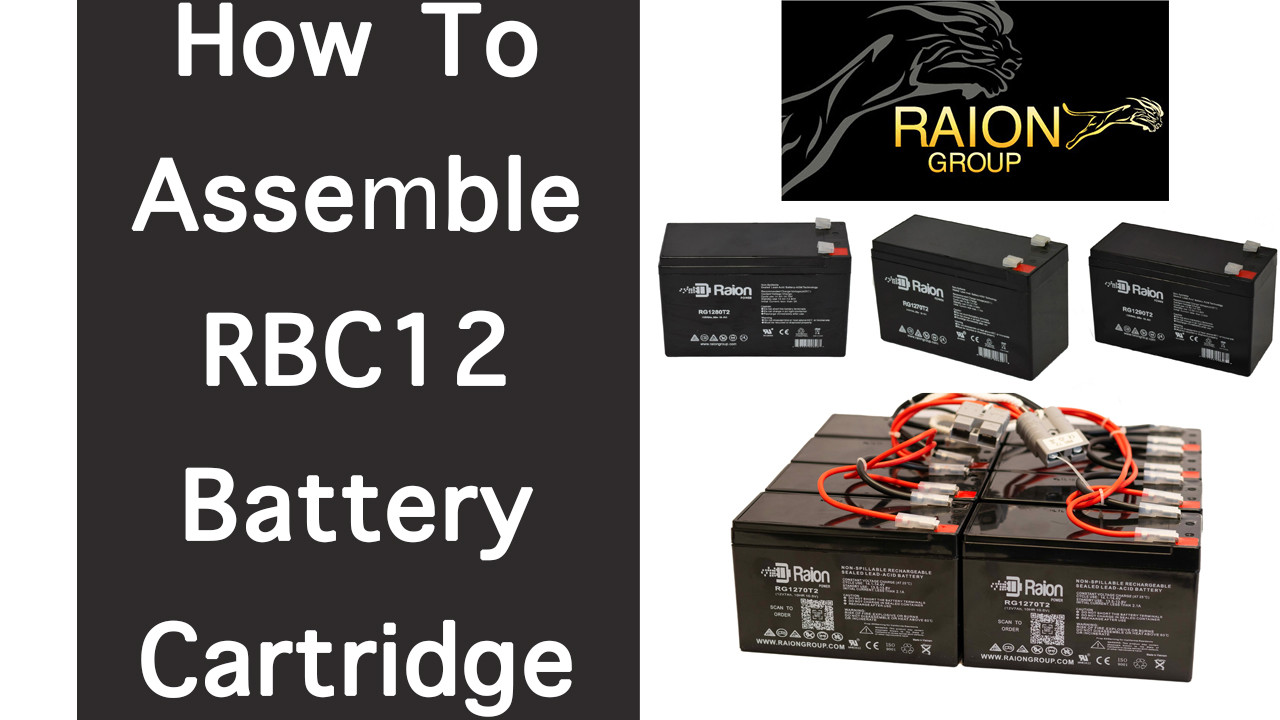
In this blog, we will be discussing how Raion Group assembles our brand new RBC12 replacement battery cartridge for APC Schneider UPS backup systems.
You can purchase the fully assembled RBC12 kit by clicking: Order Here
Things You Will Need:
8x 12V 7Ah Raion Power RG1270T2 Batteries: Order Here
Optionally: 8x 12V 8Ah Raion Power RG1280T2 Batteries (14% longer run time compared to 7Ah): Order Here
Optionally: 8x 12V 9Ah Raion Power RG1290T2 Batteries (22% longer run time compared to 7Ah): Order Here
Double-sided heavy duty adhesive tape. Make sure not to get a tape that is too thick. Otherwise the RBC12 cartridge may be slightly too big to fit into your APC UPS unit.
2X brand new RBC12 wiring harnesses (purchase link will be up in the near future).
1X Volt Meter
1X Battery charger
Assembly:
The first step is to measure the voltage of each battery to make sure the voltage is above 12.6V. Certain UPS systems will not power on or recognize a new battery if the voltages of the batteries are low. When you purchase the entire kit or batteries alone, we ensure the batteries are voltage matched and are from the same manufacturing batch. We have an article published that talks more about the benefits of voltage matching and why Raion Group does this at no additional cost to you. You can find that article here.
After you have ensured your battery voltages are properly charged, we can begin to assemble the RBC 12 battery cartridge. The RBC12 set consists of 8 batteries total, and each cartridge will have 4 batteries each connected together. Each cartridge will be 24V and either 14Ah (if you use 7Ah batteries), 16Ah (if you use 8Ah batteries), or 18Ah (if you use 9Ah batteries).
Start with 4 batteries so that you can assemble the first half of the RBC12 battery cartridge. You will want to apply the double sided tape to the batteries. We recommend that you use one tape on the upper portion and one on the bottom portion of the battery. Once the 4 batteries have been stuck together, allow some time for the tapes to form a strong bond.
Once the bond has been formed, you can go ahead and start connecting the RBC12 wiring harness to the batteries. Ensure to properly connect the wires to the appropriate terminals to avoid short circuiting that batteries which can cause irreversible damage to the batteries. Raion Group uses the following diagram to connect the RBC12 wiring harnesses to the batteries. It should be used merely as a reference, and Raion Group cannot be held liable for any damages caused by using this diagram or blog.
Once this half has been connected, you can repeat the steps for the second half (4 batteries) of the RBC12 battery set. After both sets have been successfully assembled, use the volt meter again to check the voltages of each battery by placing the prongs on each side of the Anderson terminal connector. If the voltage readings come back according to the specs above, you are ready to install the batteries.

