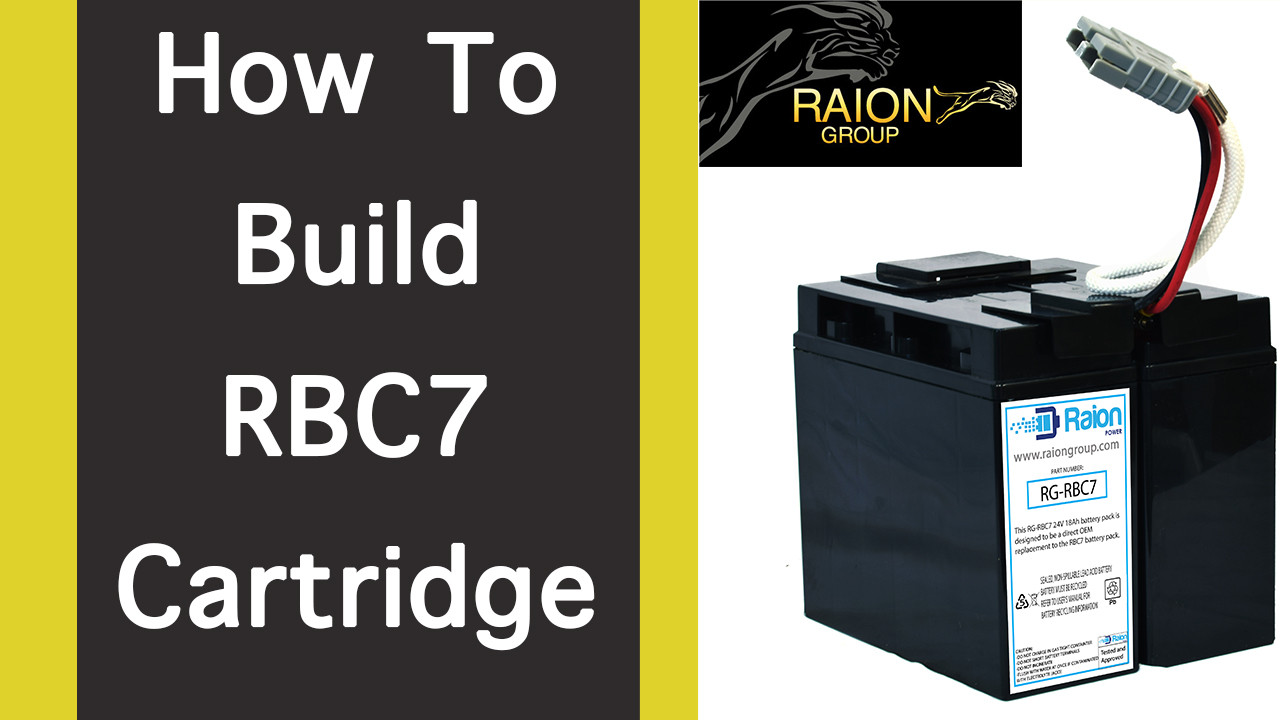
In today's blog post, we are going to cover how to assemble a RBC7 Plus battery kit for APC Backup Smart UPS systems. The RBC7 Plus is a higher 22Ah capacity cartridge that will give you better performance out of your UPS system when compared to the performance of the standard 18Ah battery cartridge used. You will get a longer reserve time on this cartridge. We will be walking you through step by step of how to build RBC7 Plus cartridges.
When looking at the RBC7 in your APC UPS systems, it may seem like a large complicated battery that has taken many hours to assemble. In reality, there are only a handful of components and it should take about 15-20 minutes to assemble from scratch.
What You Will Need To Build A RBC7 Plus Cartridge
- 2 Raion Power 12V 22Ah RG1220FP Batteries
- Tip: We recommend using batteries with FP terminals as the installation process is seamless. You can use other terminals, but you may encounter difficulty in the assembly process.
- 1X Phillips Screw Driver (Optional: Power Screw Driver)
- Heavy Duty Double Sided Adhesive Tape
- 1X RBC7 Wiring Harness
- Tip: You can reuse the same harness from your old APC RBC7 cartridge, but we highly recommend using a new harness for optimal performance.
- 1X Volt Meter
- 1X 100A Fuse
- 2X Plastic Cover
Voltage Check:
We highly recommend that you check your battery voltages with a volt meter prior to starting the assemble process. This is a step that is one of the most important steps in maintaining the battery life cycle. You will want to ensure that each battery is above 12.6V and within 100mV of each other.
At Raion Group we ensure that our batteries are voltage matched and from the same manufacturing batch prior to assembly or shipping out products to our customers. If the voltages of the individual batteries are significantly different from each other, then the life of the battery may be significantly affected. Voltage matching helps us improve the battery lifespan.
How To Assemble RBC7P Cartridge
Once you have voltage matched the batteries with a reading of 12.6V or higher, you are now ready to assemble your RBC7 Plus battery cartridge.
You need to cut two strips of double sided adhesive tape and stick it in on the TERMINAL side (on our Raion Power RG1220FP it is the side with the screen printed branding) of the battery. One tape will go on the upper half of the battery, and the other will go on the bottom half. Although the batteries seem heavy and you may think to add additional tape, but two strips are plenty enough!
Peel back the tape covers to reveal the adhesive part of the tape. CAREFULLY align both batteries together with the TERMINAL sides of BOTH batteries facing inside. Once you have aligned the batteries together, press the batteries together firmly to form a secure bond between both batteries.
- Tip: We stack the batteries on the side and use the help of gravity to secure the bond!
Once the batteries are firmly secured to each other, take the fuse and place it on the inside part of the terminal and fasten both sets of nuts and bolts (bolt will go on the inside of the terminal with the head of the screw on the outside) using the screw driver to the FP terminal posts.
You are now ready to install the RBC7 wiring harness. The battery terminals and the wire itself are color coded (Red: positive (+) & Black: negative (-)). Just like how the fuse was installed, you want the wiring harness to be installed on the interior part of the terminal. Screw both screws to the FP terminals and ensure that the wiring harness is secure.
After securely fastening the wiring harness to both FP terminals, you will want to press on both yellow tabs of the wiring harness so that the wires bend towards the fuse. You will then take one of the wires and press it further back and loop the wire in between the two FP terminals on the side the wiring harness was installed. You will repeat this step with the other colored wire.
Final Voltage Check
If you properly followed the voltage measurement instructions above, then when you use the volt meter to check the voltage on the AC wiring harness, the volt meter should read above 26 volts.
Final Assembly of RBC7 Plus Battery Pack
Take the adhesive tapes and stick them on the bottom of the two plastic covers. Peel back the tape protection film to reveal the adhesive side and stick on both sides of the battery to cover the fuse and wiring harness anchor points.
You are now ready to re-install the RBC7 Plus pack back into your APC Smart Backup UPS system.
Watch Our How To Video
Conclusion
If you would like to buy the pre assembled RBC7 Plus battery pack, click here.
This is how to guide is used for reference purposes only and only individuals trained in the handling of batteries should build this battery kit. Raion Group will not be held for any damages, and all information used by individuals from this article/video are doing so at their own risk.

